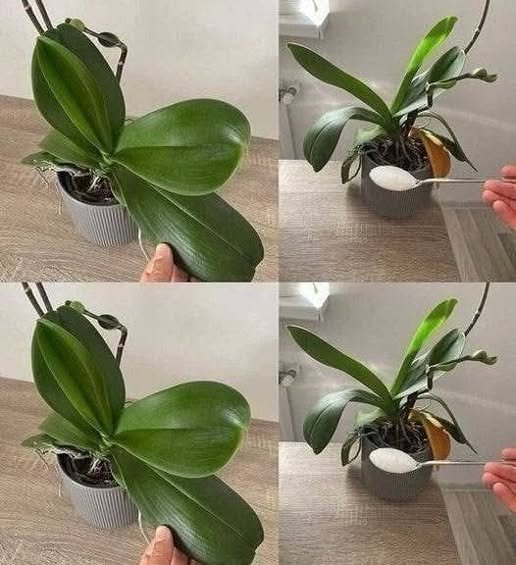
Orchids are often thought of as difficult plants, but they become much easier to care for once you understand what they actually need. One of the most important lessons is that more fertilizer does not necessarily mean more flowers.
In fact, orchids can be sensitive to excessive fertilizer. A small, properly diluted amount applied at the right time can support healthy roots, leaves, and flowering without overwhelming the plant.
Why Orchids Need Fertilizer
Like other plants, orchids need nutrients to grow. Their potting medium may provide some nutrients, but many common orchid-growing materials—such as bark, moss, or other airy mixes—contain relatively little nutrition.
Fertilizer can provide nutrients such as:
- Nitrogen for healthy leaf and stem growth
- Phosphorus for normal plant development and reproductive growth
- Potassium for overall plant function and stress tolerance
- Magnesium and other micronutrients required in smaller amounts
The goal isn’t to feed the orchid as much as possible. It’s to provide appropriate nutrition without damaging the roots.
Why a Little Fertilizer Can Be Better
Orchid roots can be sensitive to concentrated fertilizer salts.
Using too much fertilizer may cause salt buildup in the growing medium, potentially damaging roots and making it harder for the plant to absorb water properly.
That’s why many growers follow the principle:
“Weakly, regularly” rather than “strongly, occasionally.”
A properly diluted orchid fertilizer can provide nutrients without exposing the roots to unnecessarily high concentrations.
Choose a Fertilizer Made for Orchids
A balanced, water-soluble fertilizer formulated for orchids is usually the simplest choice.
Follow the dilution instructions on the product label rather than assuming that a stronger solution will produce better results.
If your fertilizer recommends a particular dilution for orchids, use that amount. Avoid experimenting with highly concentrated mixtures.
Fertilize Healthy Plants
Fertilizer is most useful when an orchid is actively growing and otherwise healthy.
Before feeding your plant, check that:
- The roots aren’t severely damaged
- The pot drains properly
- The leaves aren’t showing signs of serious disease
- The plant is receiving appropriate light
- You’re watering appropriately
Fertilizer cannot compensate for poor light, root rot, improper watering, or unsuitable temperatures.
Watering Before Fertilizing
One useful approach is to avoid applying concentrated fertilizer to extremely dry roots.
If the potting medium is completely dry, water the orchid appropriately first and allow excess water to drain. Then use properly diluted fertilizer according to the product’s instructions.
The exact routine can vary depending on the orchid species, growing medium, season, and environmental conditions.
Don’t Fertilize Every Time With a Strong Solution
More frequent feeding isn’t automatically better.
Some growers use a diluted fertilizer regularly during active growth, while others fertilize less frequently. Either approach can work when the fertilizer is appropriately diluted and the plant’s overall care is good.
During periods of slower growth, the plant may need less fertilizer.
Flush the Potting Medium Occasionally
If you regularly fertilize orchids, periodically flushing the potting medium with plenty of clean water can help wash away accumulated mineral salts.
Allow the water to drain completely afterward.
This is particularly useful for orchids grown in containers with good drainage.
What About Homemade Orchid Fertilizers?
You’ll find many online suggestions involving:
- Rice water
- Banana peels
- Coffee
- Milk
- Eggshells
- Sugar water
These remedies aren’t necessarily reliable sources of balanced orchid nutrition.
Some can also encourage unpleasant odors, mold, or other problems if used improperly.
A commercially prepared orchid fertilizer provides a much more predictable nutrient profile.
Signs You May Be Using Too Much Fertilizer
Watch for:
- Brown or damaged root tips
- Crusty white mineral deposits on the potting medium or container
- Leaf-tip damage
- Poor root health
- Declining plant vigor
These symptoms can have other causes as well, so don’t assume fertilizer is always responsible.
Light Still Matters More Than Fertilizer
A common mistake is trying to solve flowering problems with additional fertilizer.
If an orchid isn’t receiving enough suitable light, adding more fertilizer won’t necessarily make it bloom.
Most commonly grown orchids, such as Phalaenopsis, generally prefer bright, indirect light rather than harsh midday sunlight.
Healthy green leaves, strong roots, appropriate watering, and suitable temperatures provide the foundation for good growth.
A Simple Orchid Feeding Routine
For a straightforward approach:
- Choose a fertilizer formulated for orchids.
- Dilute it exactly according to the label.
- Feed during active growth as recommended for your orchid and product.
- Avoid applying excessive fertilizer.
- Periodically flush the potting medium with clean water.
- Reduce feeding when the plant’s growth naturally slows.
- Keep light, watering, airflow, and drainage appropriate.
Final Thoughts
When it comes to orchid fertilizer, more isn’t necessarily better. A small amount of properly diluted fertilizer can provide useful nutrients while reducing the risk of salt buildup and root damage.
Think of fertilizer as a supplement to good orchid care—not a replacement for it. With appropriate light, watering, drainage, temperature, and a sensible feeding routine, even a modest amount of fertilizer can help your orchid maintain healthy growth and produce beautiful flowers.