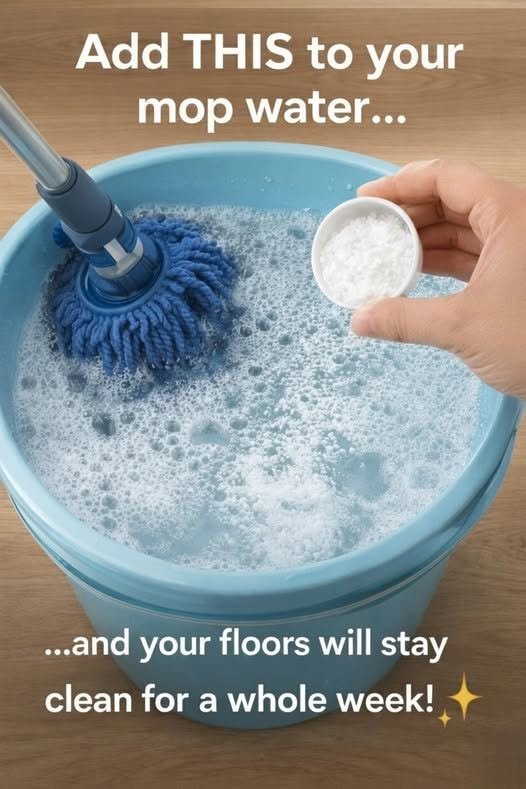
Sometimes the simplest cleaning tricks are the ones that make the biggest difference. If your floors look dull, have visible footprints, or seem to collect grime no matter how often you mop, you may not need an expensive specialty cleaner.
One simple trick is to change the way you mop rather than simply adding more cleaning products. The key is using the right amount of cleaner, working in small sections, and finishing with a clean-water pass when needed.
Here’s the easy method that can leave many hard floors looking noticeably cleaner and fresher.
What You’ll Need
- A bucket of warm water
- A clean microfiber mop
- A small amount of your floor cleaner
- A second bucket or container of clean water
- A dry microfiber cloth for stubborn spots
- A vacuum or broom
Always check your flooring manufacturer’s cleaning recommendations before using a new product.
Step 1: Remove Loose Dirt First
Before mopping, sweep or vacuum the entire floor.
This step is easy to overlook, but loose dust, sand, and crumbs can turn into muddy residue when mixed with water. Removing them first allows the mop to concentrate on actual grime rather than simply moving dirt around.
Pay particular attention to corners, underneath furniture, and along baseboards.
Step 2: Don’t Overload the Floor With Cleaner
Here’s where the trick really begins.
It can be tempting to think that using extra floor cleaner will make the floor cleaner. In reality, too much product can leave behind a sticky or cloudy residue that attracts more dirt.
Follow the dilution instructions on your floor-cleaning product and use only the recommended amount.
For many floors, less cleaner and a cleaner mop head can work better than a heavily concentrated solution.
Step 3: Mop in Small Sections
Instead of soaking the entire floor at once, work in manageable sections.
Lightly dampen the microfiber mop and clean one section using overlapping strokes. Rinse or replace the mop head when it becomes visibly dirty.
If you’re cleaning a large area, changing the water when it becomes cloudy can make a surprisingly noticeable difference.
You’re essentially preventing dirty water from being redistributed across the floor.
Step 4: Try the Clean-Water Pass
This is the part many people skip.
If your floor cleaner requires rinsing—or if you notice a hazy residue after cleaning—go over the surface again with a clean, lightly damp microfiber mop using plain water.
Don’t flood the floor. The goal is simply to remove leftover cleaning solution.
This can be especially helpful when floors have accumulated layers of product from previous cleanings.
Step 5: Dry the Floor
Allow the floor to dry naturally with good ventilation, or gently dry it with a clean microfiber cloth when appropriate.
On floors that show water spots easily, drying the surface can help create a more uniform appearance.
Why This Trick Works
The real secret isn’t a magical ingredient. It’s residue control.
Floors can become dull-looking because of accumulated dirt, cleaning-product residue, hard-water deposits, or the natural wear of the finish. Simply adding more soap doesn’t necessarily solve those problems.
A clean microfiber mop, appropriate cleaner dilution, and occasional clean-water rinsing can help prevent residue from building up.
A Few Important Floor-Specific Tips
Hardwood Floors
Use only products recommended for finished hardwood flooring. Avoid excessive water, soaking, steam cleaning unless specifically approved, and harsh household chemicals.
Laminate Flooring
Laminate generally responds best to a lightly damp mop rather than a soaking-wet one. Standing water can damage some laminate flooring.
Tile Floors
Tile can tolerate more moisture than many wood-based floors, but grout can hold onto dirt. A separate grout-cleaning approach may be necessary when the grout itself is stained.
Vinyl Floors
Use a cleaner approved for vinyl flooring and avoid abrasive tools that can scratch the surface.
What Not to Add to Your Mop Bucket
You may see online cleaning hacks recommending combinations of vinegar, bleach, ammonia, baking soda, dish soap, or other household chemicals.
Don’t mix cleaning chemicals unless the product instructions specifically say they can be combined. In particular, never mix bleach with ammonia or acidic products, because dangerous fumes can form.
Also be cautious with homemade acidic cleaners on natural stone surfaces such as marble or limestone, as acids can damage the finish.
How Often Should You Deep Clean?
The ideal schedule depends on how much traffic your floors receive.
For everyday maintenance, regular sweeping or vacuuming combined with appropriate damp mopping is usually more useful than frequent aggressive cleaning.
High-traffic areas may need more frequent attention, while bedrooms or lightly used rooms may require less.
The Biggest Lesson
The floor trick isn’t really about finding a secret ingredient. It’s about using less product, cleaner water, a clean microfiber mop, and the correct technique for your flooring.
Once you stop leaving excess cleaner behind and start changing dirty water and mop heads more frequently, your floors may look noticeably fresher without requiring a cabinet full of specialty products.
And that’s probably the part I didn’t believe until I tried it.